In bref
Introduction:
In this guide, we'll explore the steps involved in making a home-made paper screen and frame, which are essential for creating quality paper. Unlike the basic manufacturing method, these tools will enable you to produce finer, more consistent paper, ready for use in your printer. What's more, you'll have the satisfaction of having created these tools yourself, while saving money in the process.
Why use a sieve to make paper?
Why is it essential to use a paper screen in the seeded paper manufacturing process? Discover the benefits of using a screen to obtain a homogenous paper pulp and how it improves the quality of your paper.
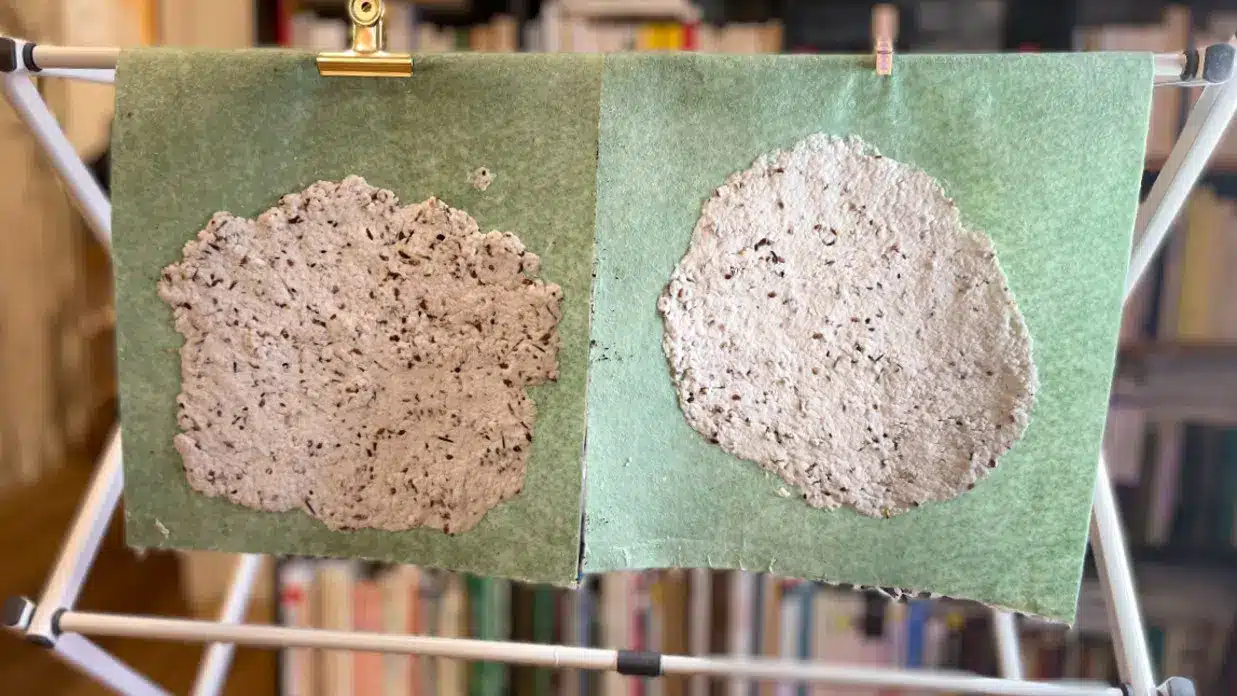
If you want to produce better quality paper, a paper screen is essential. It collects the paper pulp evenly in your vat, eliminates water and creates a homogeneous sheet that is more resistant to printing.
How does a paper sieve work?
Understand how the paper screen works and how it helps create a uniform sheet of paper. Find out how the paper screen and frame work together to form the desired sheet of paper, avoiding thin edges and tears.
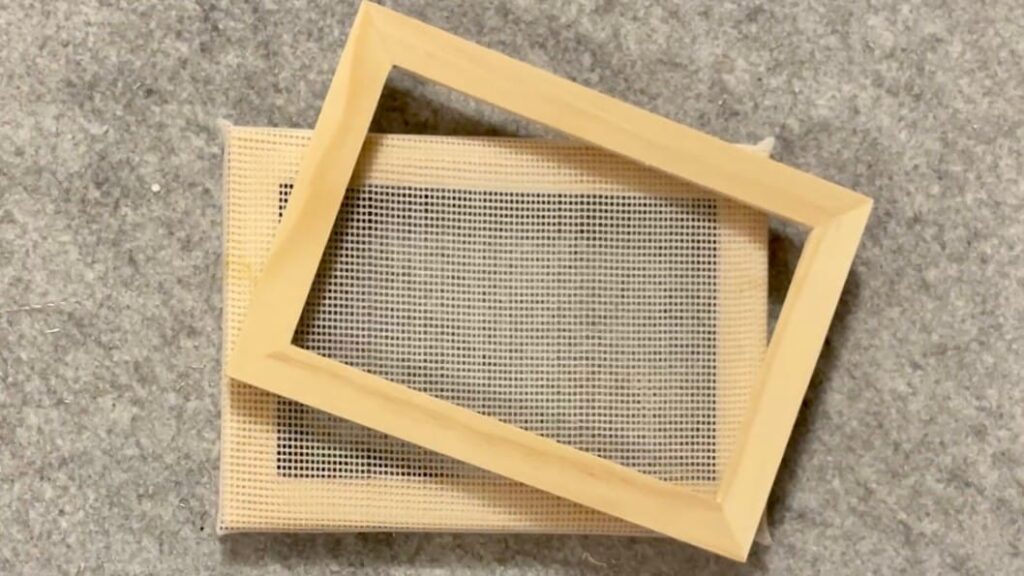
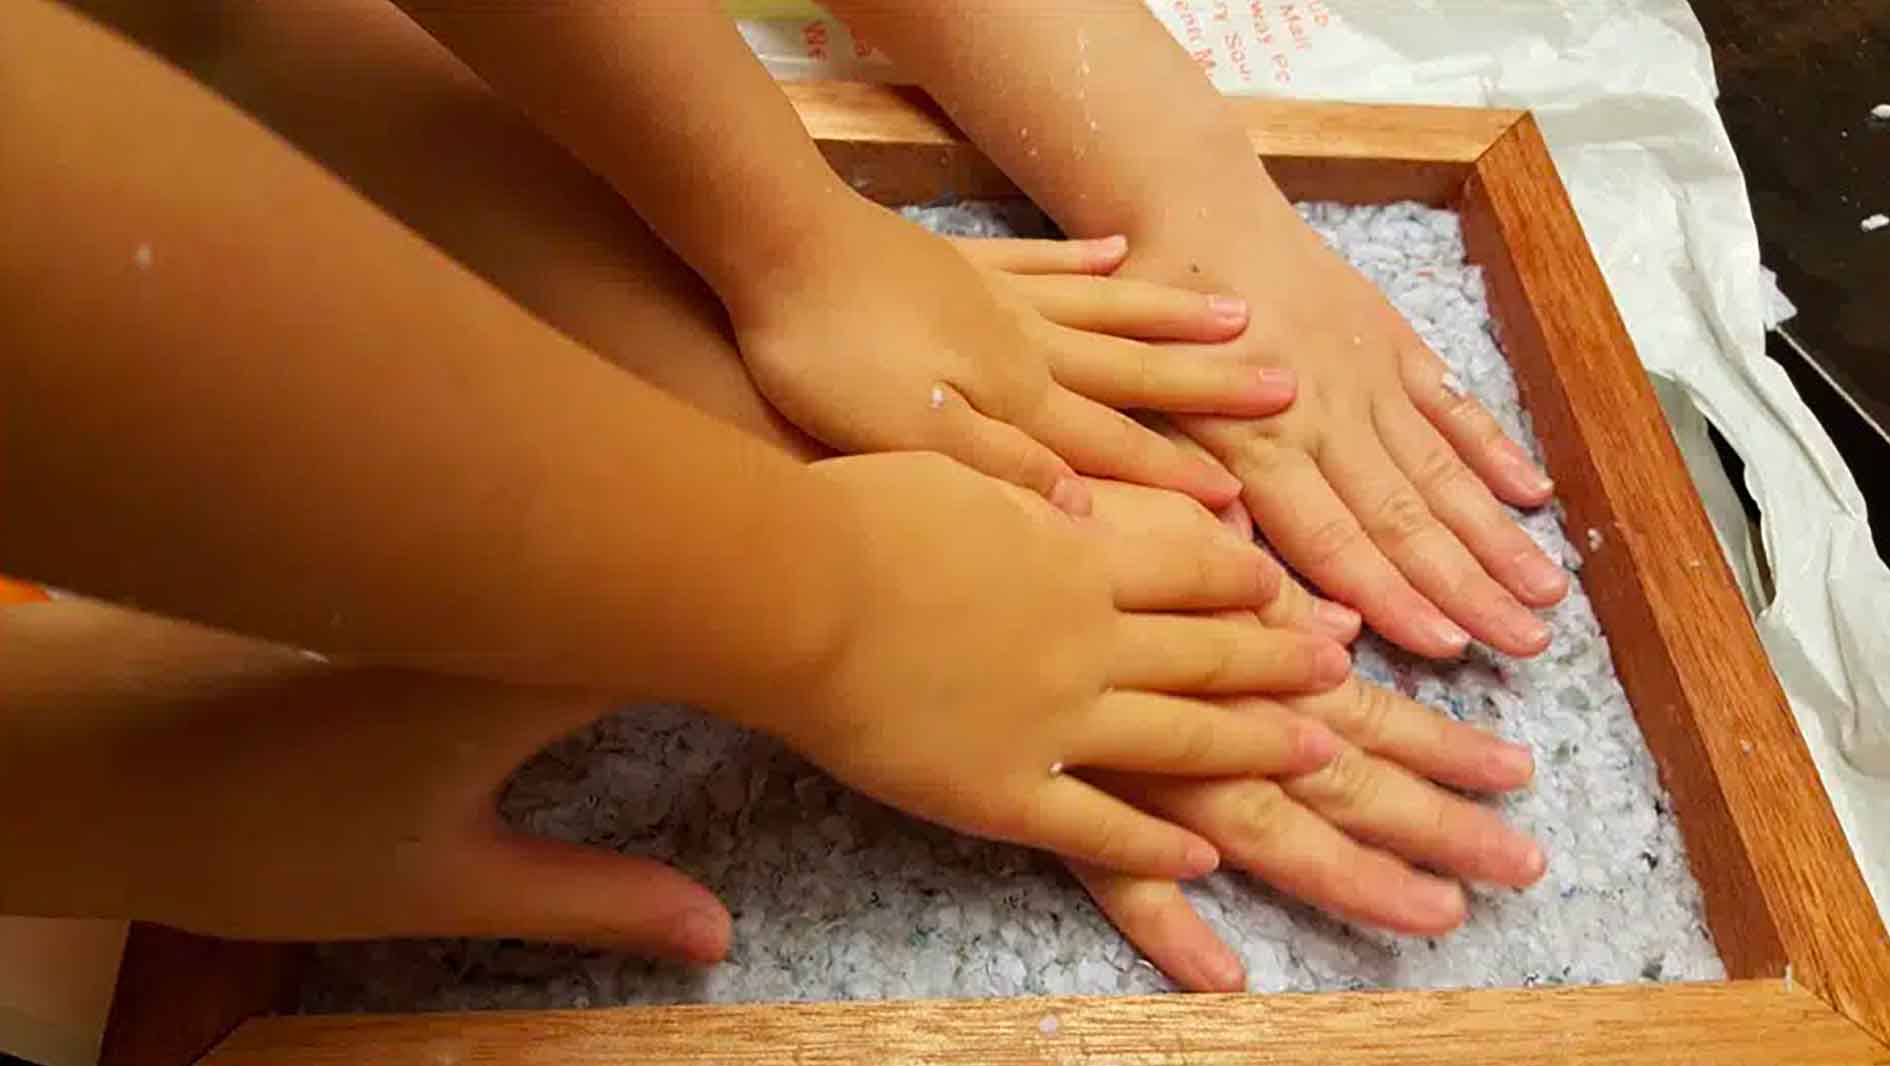
How is it used? The sieve will collect the paper pulp in your vat or basin, and drain off the water. The water will come out with an already homogenous layer of paper, which will then be laid down and dried. The paper sieve is usually accompanied by a frame, which you keep superimposed on top of it as you dip it into the water and pull it out again. The frame helps to define the outline of your sheet of paper, preventing it from being too thin around the edges and tearing.
Buying or Making a Paper Screen?
Decide whether you want to buy a ready-made kit or make your own paper screen. Explore the benefits of homemade, and follow our DIY workshop to create your own paper screen with easy-to-find materials.
Of course, many websites allow you to buy a ready-made kit of shapes, including sieves and paper frames. But the quality is not always up to scratch, the prices are not insignificant, and you don't necessarily know where they were made... And it's so easy to do it yourself!
For anyone who prefers to do things themselves, we suggest this quick DIY workshop to make a homemade paper sieve from easily salvageable materials.
In video
Materials for making a paper sieve:
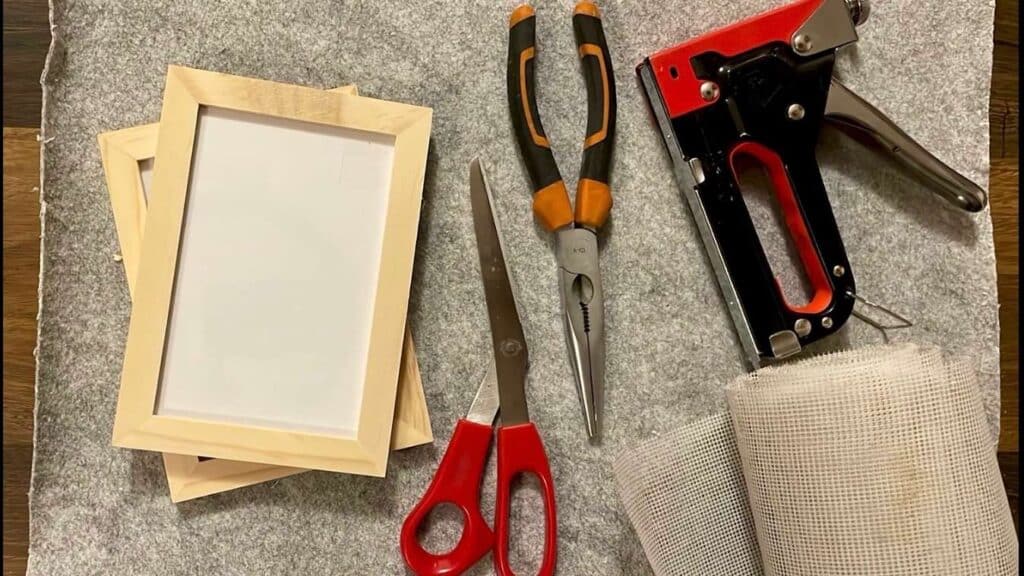
- 2 photo frames of identical size, preferably in wood
- Mosquito netting in rolls (easily found in DIY or home equipment shops)
- a stapler
- scissors
- a small hammer
- if necessary, a pair of pliers (to remove the frame fasteners)
Making a paper screen - Step 1: Preparing the Photo Frames
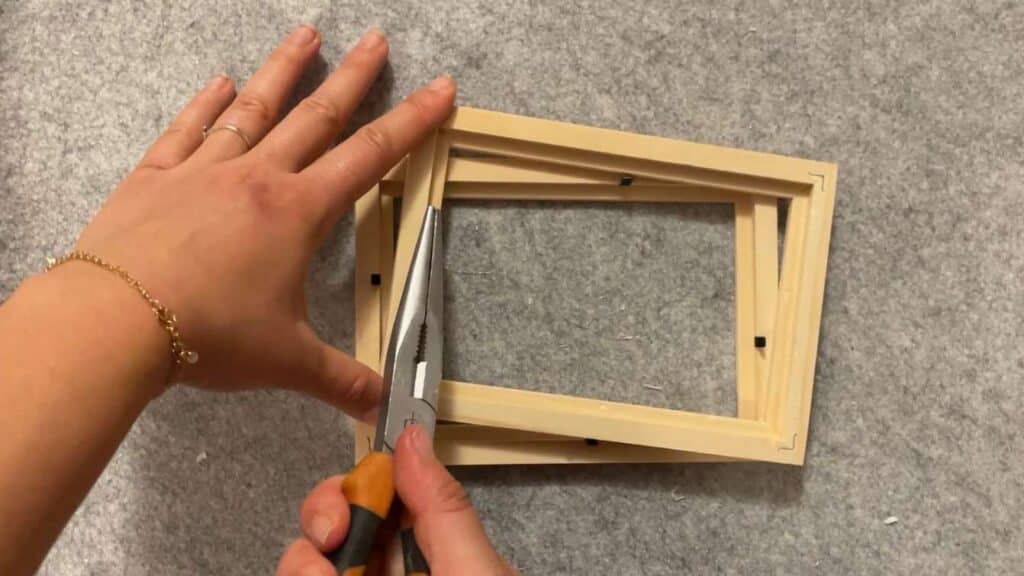
Learn how to prepare your photo frames by removing the glass and the base. This will give you the rectangular structure you need for your paper screen.
First of all, take your two old photo frames and remove the glass part and the base. Use the pliers to remove the small clips that hold the base in place. All that should remain is the rectangular frame structure.
Once that's done, leave one aside: you've already finished making the frame, which will be superimposed on the paper screen to give your sheet its rectangular shape.
Making a paper screen - Step 2: Cutting out the mosquito net
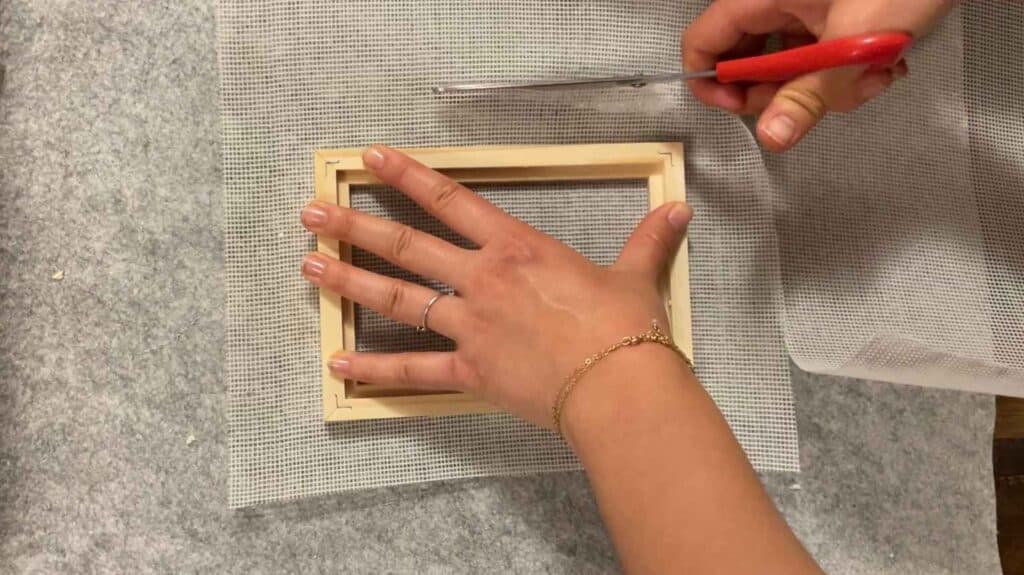
Cut the screen to match the size of your frame, leaving about 3 cm protruding on each side. This step is crucial for filtering the paper pulp.
Fold one side of the mosquito net over the remaining frame, then cut it into a rectangle slightly larger than your frame. To do this, leave about 3 cm protruding from each side. The mosquito netting will be used for the actual filtering part of your sieve, the part that will let the water run off to retain the paper pulp spread out in a fine layer.
Making a paper screen - Step 3: Assembling the paper screen
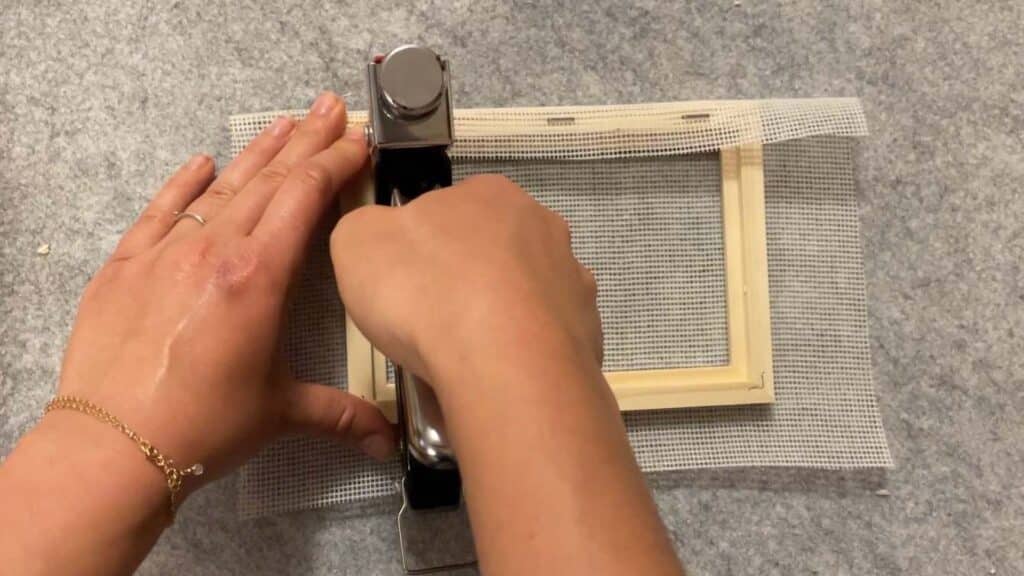
Find out how to staple the mosquito net to the frame so that it is taut. Follow our tips to avoid creases and ensure a perfect result.
Fold one side of the mosquito netting centred on the frame, over the edge, so that it covers the other edge on the reverse side of the frame. Then, using your stapler, staple starting at one corner. Make sure it doesn't move too much.
Then repeat this step on the other edges, taking care to stretch the netting as you do so, so that the screen is taut. After stapling two opposite sides together, I like to cut a piece of the corner at an angle so that the last two sides can hold in place without any unnecessary creases.
Making a paper screen - Step 4: Final adjustments
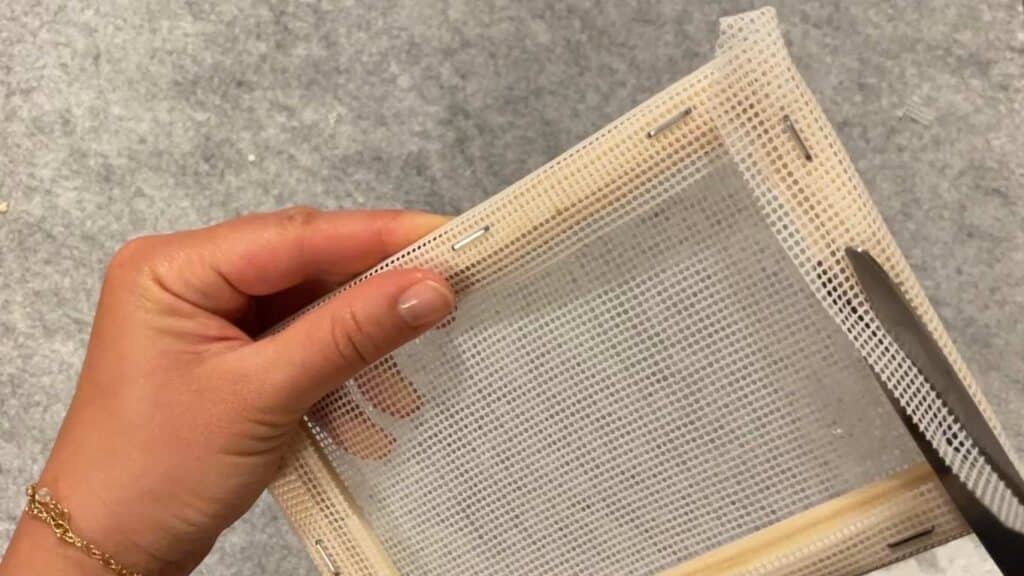
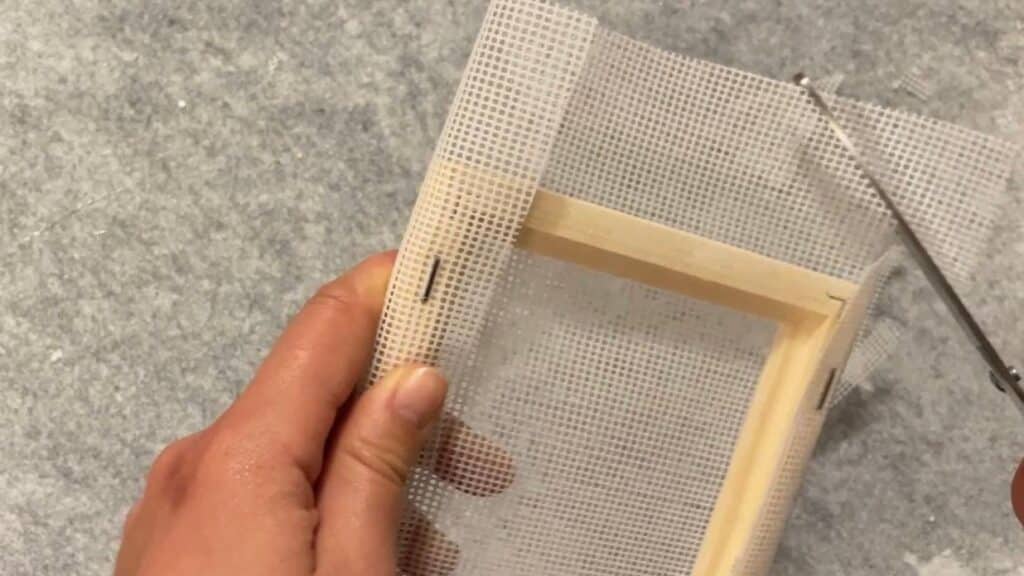
Now you can use your scissors to cut the remaining fringes of the mosquito net on the reverse side, so that the paper pulp doesn't get caught in them and the result is neat.
Conclusion:
Your paper screen is ready to use! You're now equipped like a pro, to make paper that you can proudly give to your friends and family.
Congratulations, you're now equipped to make quality paper with your very own paper screen and frame. If you've enjoyed this guide on how to make a paper screen, share this tutorial on social networks so that your friends can discover this exciting DIY skill. After all, sharing knowledge is like happiness - it'll only increase it tenfold!
And if DIY isn't your cup of tea, visit our shop for ready-made planting cards.
