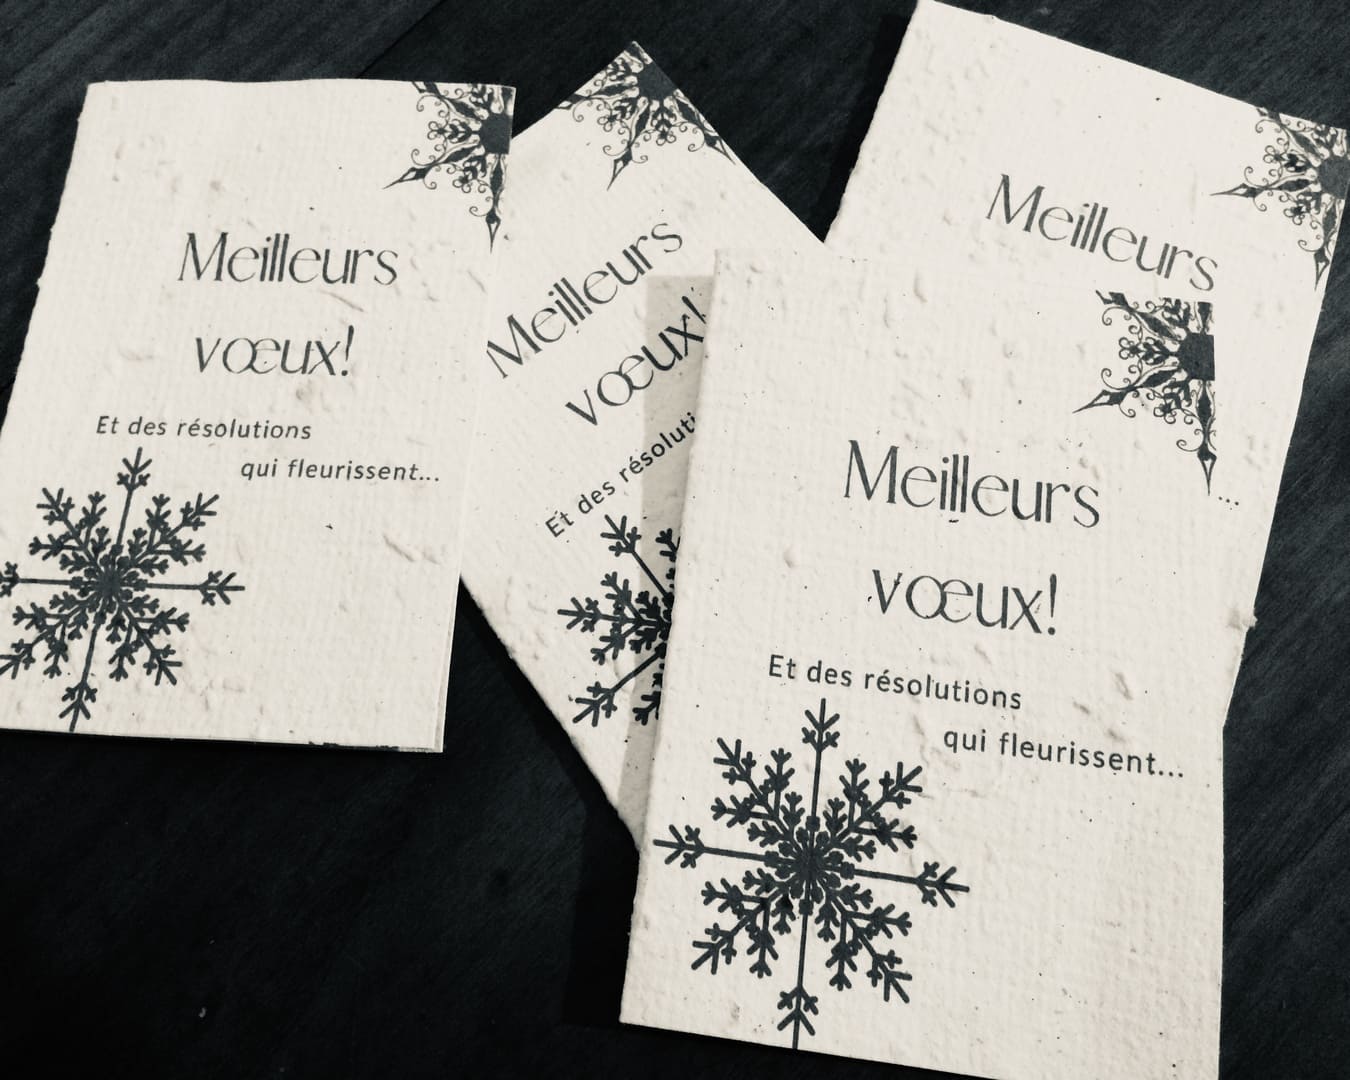
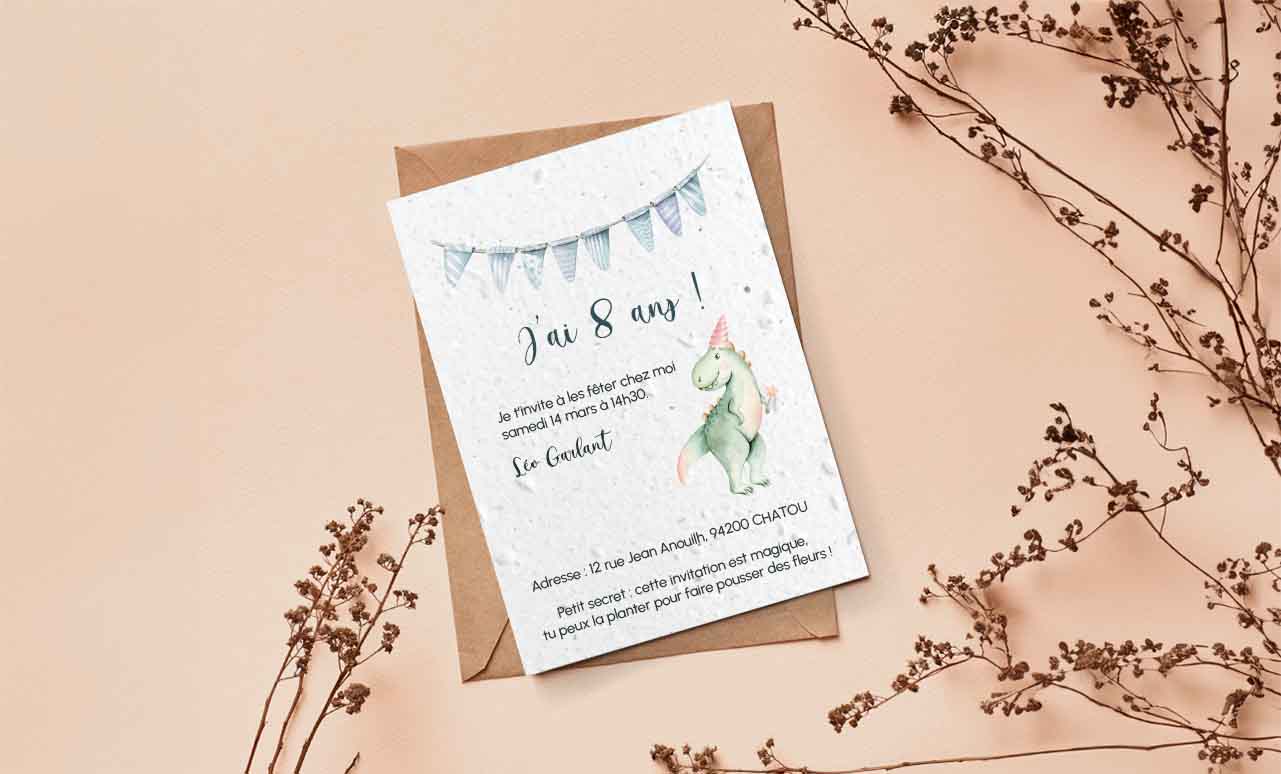
DIY greetings cards are much more than a simple gesture: they reflect your creativity and your affection for your loved ones. And what better way to add a special touch to your greetings than to use planting paper? In this article, we offer you some fun and simple tutorials for creating one-of-a-kind greetings cards, while helping to preserve our beautiful planet. So get out your scissors, your glue and your imagination, and plunge into the enchanting world of DIY greetings cards with planting paper!
DIY greetings cards: floral creativity

Greeting cards to suit all tastes
DIY greetings cards are the perfect opportunity to express your creativity while sending warm wishes to your loved ones. Whether you're a fan of minimalism or exuberant style, there are plenty of ways to personalise your cards so that they reflect your personality perfectly. With planting paper, you can add an eco-friendly touch to your creations, turning a simple gesture into a declaration of love for nature.
Materials required
Before diving into the creation of your DIY greetings cards, make sure you have all the necessary materials to hand. Here's what you'll need:
- Planting paper: choose quality paper containing flower or herb seeds that your recipients can plant after reading your message.
- Scissors and glue: the basic tools for cutting and assembling your creations.
- Markers, coloured pencils or stamps: to add illustrations or personalised messages to your cards.
- Decorative elements: ribbons, stickers, sequins... Give your imagination free rein to embellish your creations.
Tutorial: Greeting card in the shape of a flower
For this first DIY greetings card idea, we suggest you make a card in the shape of a flower. Here are the steps to follow:
- Fold a sheet of planting paper in half to form a card.
- Draw the outline of a flower on the front of the card. Make sure the stem of the flower extends beyond the bottom of the card.
- Cut out the flower shape following the outline you have drawn.
- Use markers or coloured pencils to add details to your flower, such as coloured petals or patterns.
- Write your message on the inside of the card, using eco-friendly inks if possible.
- Before closing the card, insert a few extra seeds inside so that the recipient can plant them after reading your message.
- Glue the flower stem to the inside of the card so that it protrudes slightly when the card is closed.
- Add extra details if you like, such as a ribbon around the stem or stickers to embellish the card.
With this greetings card in the shape of a flower, you're sure to put a smile on your loved ones' faces while helping to protect the environment. So grab your scissors and get started on this creative adventure!
Embellishment techniques

Infinite customisation
DIY greetings cards offer a blank canvas for unlimited creative expression. Whether you prefer floral motifs, abstract illustrations or minimalist designs, there are a multitude of embellishment techniques to bring your creations to life. Using planting paper as a base, you can add an eco-friendly dimension to your cards while letting your imagination run wild.
Popular embellishment techniques
Hot stamping
Hot stamping is an elegant and sophisticated embellishment technique that adds a touch of luxury to your greetings cards. To carry out this technique, you'll need a rubber stamp with the design of your choice, embossing powder and a heat gun. Apply the ink to the stamp, press it firmly onto the paper to be planted, sprinkle the embossing powder over it and heat it with the heat gun until it melts and forms a shiny relief. This technique adds texture and shine to your cards, making them truly unique.
Laser cutting
Laser cutting is a cutting-edge technique for creating intricate, detailed designs on planting paper. You can use this technique to cut personalised shapes, floral motifs or decorative borders for your greetings cards. Simply download the design of your choice onto laser-cutting software, place the planting paper in the machine and let the magic happen. This technique adds a visual and tactile dimension to your cards, transforming them into real works of art.
Cold embossing
Cold embossing is a simple but effective technique for adding relief to your greetings cards. You can use plastic or metal stencils with a variety of designs, which you place on the paper to be planted. Then use an embossing tool or an inkless biros to follow the contours of the stencil and create a relief on the paper. This technique adds texture and dynamism to your creations, making them truly unique and memorable.
Tutorial: Embossed greetings card
For this second DIY greetings card idea, we suggest you experiment with cold embossing to create textured designs on your planting paper. Here are the steps to follow:
- Place a plastic or metal stencil with the design of your choice on the front of your plantable paper greeting card.
- Use an embossing tool or an inkless biros to follow the contours of the stencil and create a relief on the paper.
- Continue to follow the contours of the design until you have created the desired pattern over the entire surface of the card.
- Once the embossed design is complete, add extra details if you wish, such as illustrations or personalised messages inside the card.
- Before closing the card, insert a few extra seeds inside so that the recipient can plant them after reading your message.
- That's it! Your embossed greetings card is ready to send to your loved ones.
With this embellishment technique, you can create unique and memorable DIY greetings cards that are sure to be appreciated by their recipients. So give your creativity free rein and embark on this artistic adventure!
Final touches and tips

Add a touch of sparkle
The finishing touches are what will make your DIY greetings cards truly special. Whether with delicate embellishments, elegant finishes or surprising details, every little addition will help to create a one-of-a-kind card. With planting paper as a base, you can add an eco-friendly dimension to your cards while making them even more beautiful and memorable.
Tips for successful DIY greetings cards
Use natural elements
To add an organic touch to your DIY greetings cards, consider using natural elements such as dried leaves, dried flowers or twigs. Glue them gently onto the planting paper to add texture and visual interest to your designs. Not only do these elements add natural beauty to your cards, they also complement the eco-friendly theme of your planting paper perfectly.
Play with typography
Typography can have a significant impact on the look and feel of your DIY greetings cards. Experiment with different font styles, text sizes and colours to create messages that grab the attention and captivate the recipient. You can also use handwriting techniques to add a warm, personal touch to your cards. Let your creativity flow through the words you choose and the way you present them.
Play with textures
Textures add dimension and interest to your DIY greetings cards. Experiment with different types of planting paper, such as textured paper or recycled paper, to create unique visual effects. You can also use embossing or embossing techniques to add texture to your cards. Textures add a tactile dimension to your designs, making them even more pleasant to touch and handle.
Tutorial: Rustic greetings card
For this latest DIY greetings card idea, we suggest you create a rustic-style card using natural elements and simple embellishment techniques. Here are the steps to follow:
- Start by choosing a piece of textured or recycled planting paper as the base for your card.
- Gently glue dried leaves, flowers or twigs to the front of the card to add texture and visual interest.
- Use a rustic or hand-written font to write your message inside the card, making sure to use eco-friendly inks if possible.
- Before closing the card, insert a few extra seeds inside so that the recipient can plant them after reading your message.
- That's it! Your rustic greetings card is ready to send to your loved ones.
With this latest DIY greetings card idea, you can create a rustic and charming design that's sure to be appreciated by its recipients. So give your creativity free rein and embark on this latest artistic adventure!
DIY greeting cards with planting paper are more than just greetings; they're a testament to your creativity and commitment to the environment. By incorporating natural elements, embellishment techniques and personal touches, you create unique and meaningful works of art. By sending these cards, you're not only sending warm wishes, but also a message of love for nature and a commitment to sustainability. So the next time you send a greetings card, do it with style and ecological awareness by using planting paper.


